
How to set up an AB Split Test with Beaver Builder
Watch the video for a simple setup Tutorial.
Get AB Split Test free - includes a 7-day trial of every Teams feature. No credit card.
So…
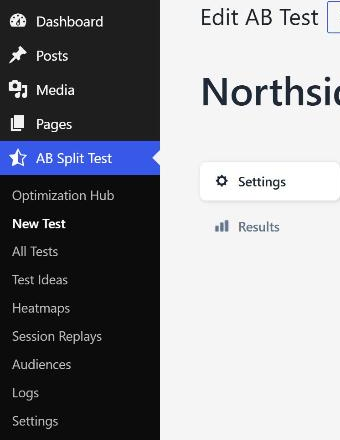
Head over to your website and click ‘New Test’ in the AB Split Test menu:
You need to give your test a name that you can remember, in this case I’m calling it ‘First ever test’. Select ‘On Page Elements’ as the test type. There are options in the ‘Goals’ and ‘Test Visitor Segmentation’ areas of this page, but in this simple test we’re going to use the defaults. Click ‘Launch Test’ to make this test active.
TIP… as you get more and more tests running, the need for more specific names might become clear, for example ‘home page button test’, or ‘landing page hero image’ might be more suitable as the title reminds you of the purpose of the test.

The test that we’ve just set up is where we will see data that is gathered when people interact with your site.
Now we need to set up the page with the buttons on it. This could be a page that you’ve already created, but we’ll create a new page here:
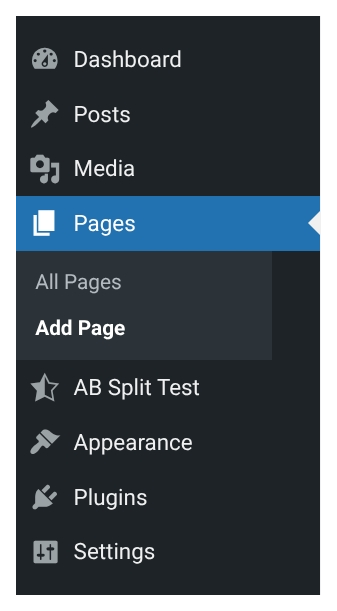
Click Pages > Add New
Drag a button element onto the page and you should see a button:

Once the button is added, I clicked on it and called it ‘Red Button’ and then gave it a backgroud colour of red:

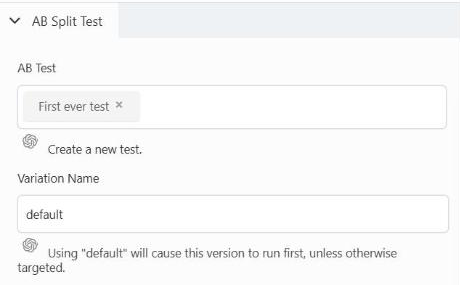
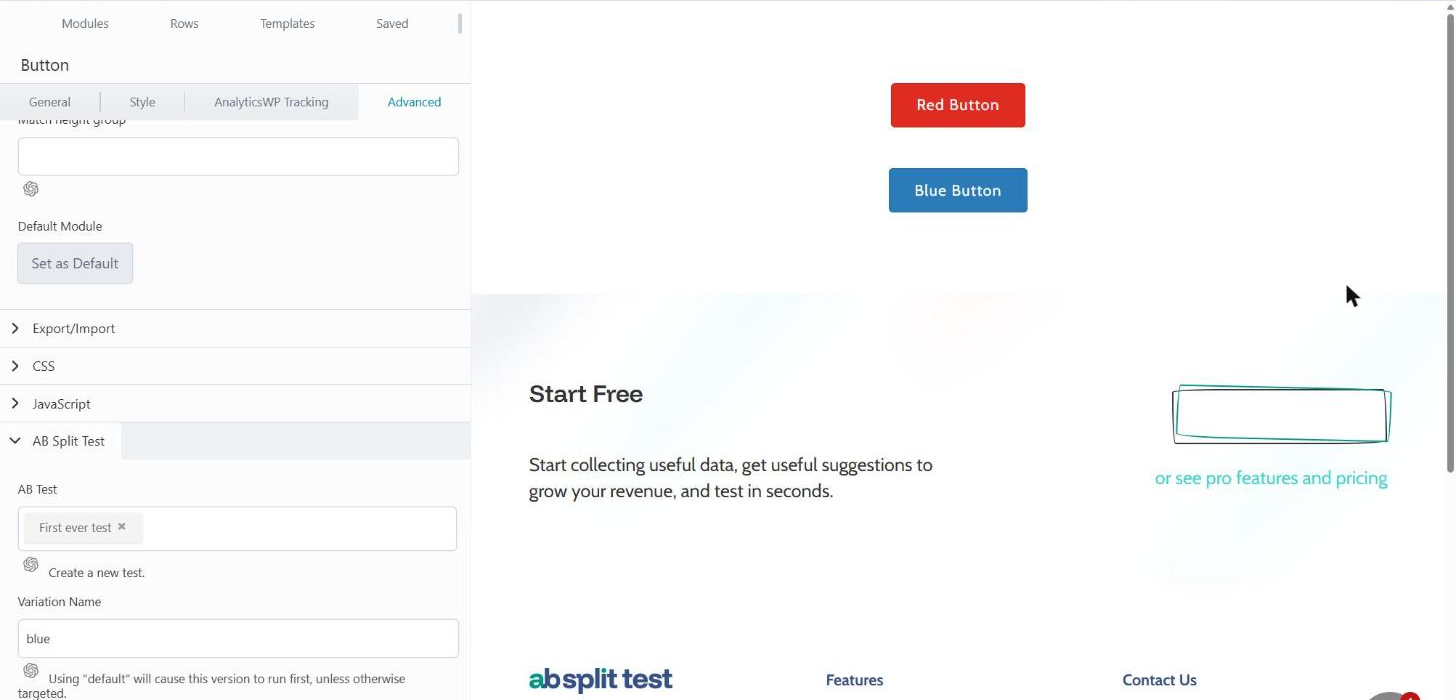
When still active in the button, you can see some ‘AB Split Test’ settings in the ‘Advanced’ panel. Here we need to select the test that we set up earlier, so ‘First ever test’.
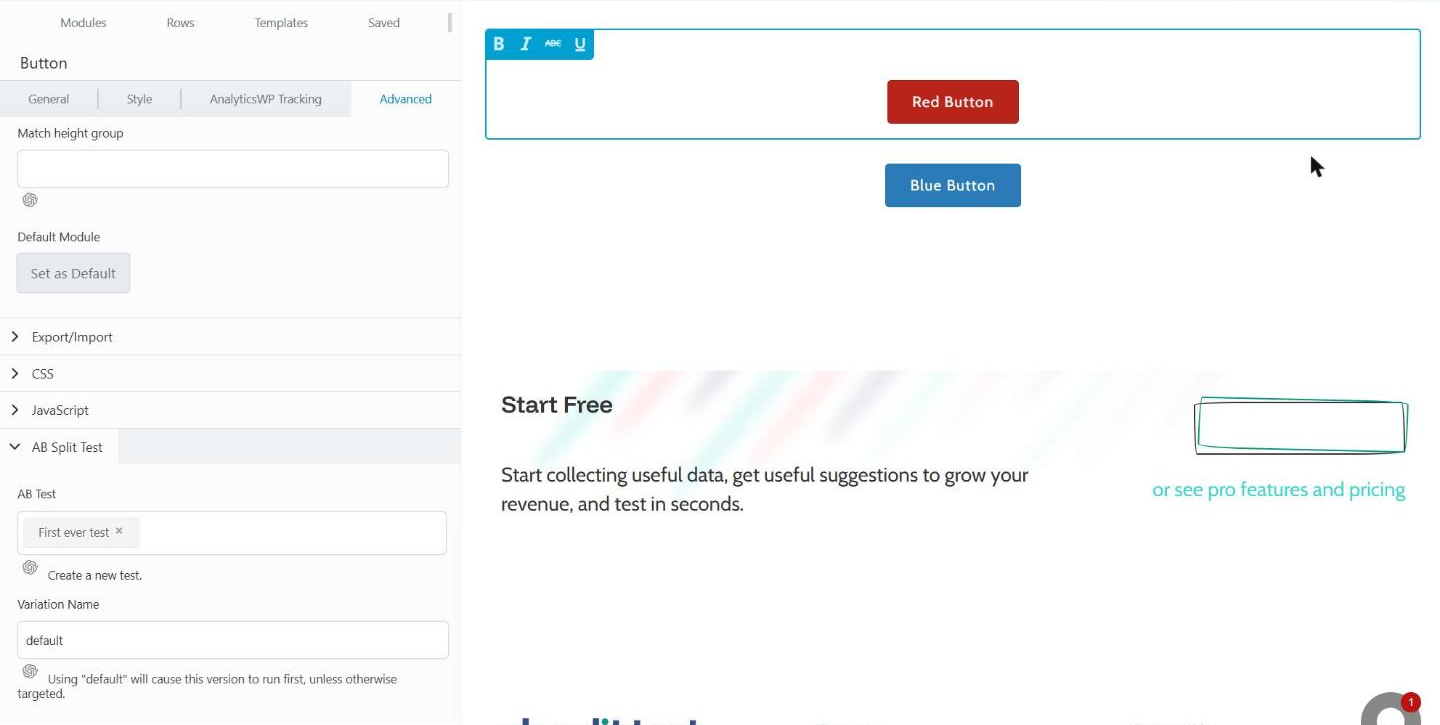
In the same settings panel you can see that there’s a field to add a ‘Variation Name’. You need to make this unique for each button (or whatever you’re measusing) in the test. I’ve called it ‘default’, but it could as easily have been called ‘red’ or ‘one’ or anything else.
Now I need another button, so I’ll dupliacte this one by clicking the ‘Duplicate’ icon:

Let’s call it ‘Blue Button’ and change it’s colour:
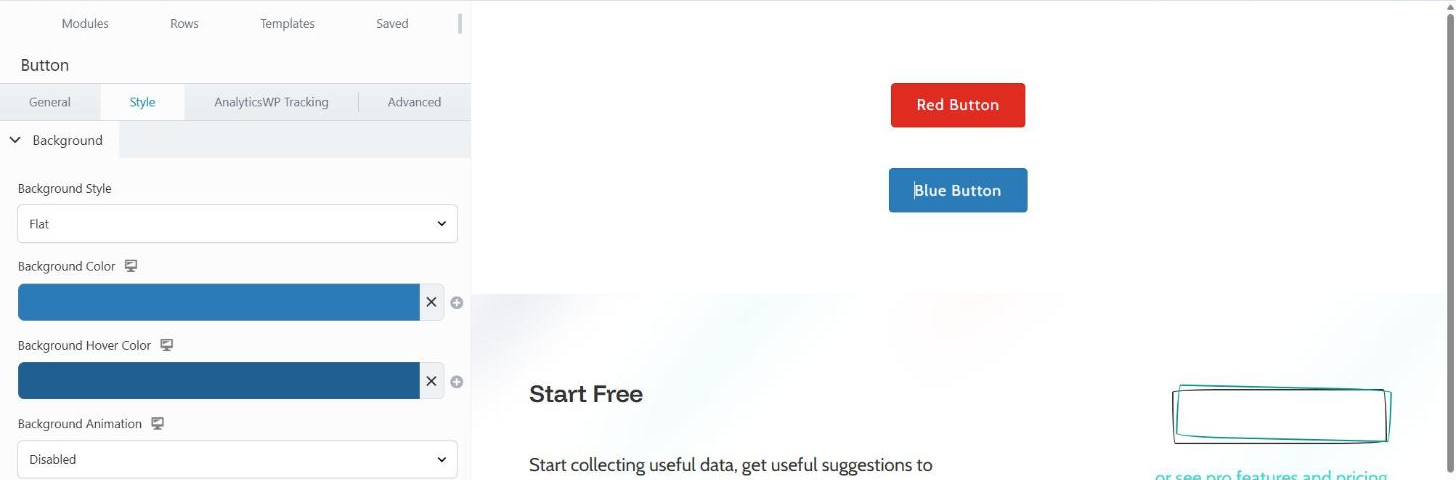
Now you appear to have x2 buttons on the site, but your website visitors will only see one of them. The plugin makes sure that they will see either the red OR the blue button, and if they see the red one once, they will continue to see it upon susequent visits. This is to make your site look and feel consistent for each visitor.
Doing the same that we did for the red button, I need to give this button a unique Varation Name:
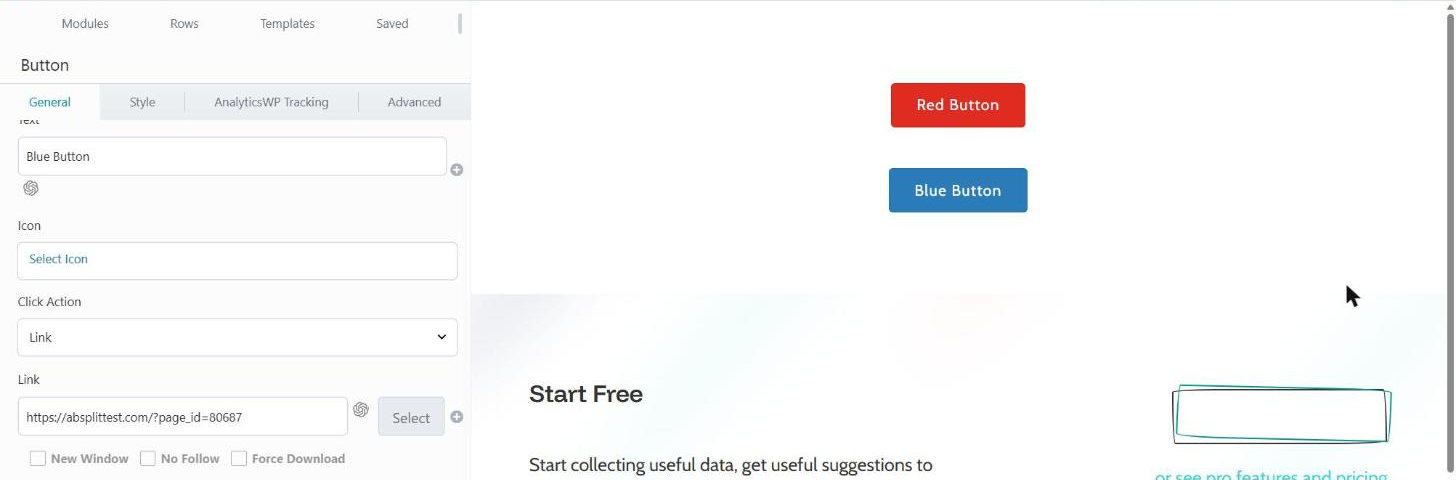
Now, all good buttons link to something and so we need to make these buttons have links. In my case I’m linking to a page called ‘Conversion Page’, but you can link to any page that you want. I’ll do this for both buttons:
Publish your page.
At this point you might need to create a page for the buttons to link to, either way, make sure that the buttons are linking to the same page and then naviagate to that page.
Next you need to add a ‘Conversion Module’ into that page. This conversion module is very important as it’s the way that the AB Split Test plugin is going to keep track of how many times your buttons were clicked.
Click ‘+’ and search for ‘conversion’ and add the ‘AB test conversion’ element.

You should now see this on the page:

Don’t worry, visitors to your site will never see this, it’s just so that you know that there’s a conversion being run on this page. As the element says you need to ‘Choose an experiment to complete setup’. So click on the element, you will see these settings in the bar at the left hand side of the screen:
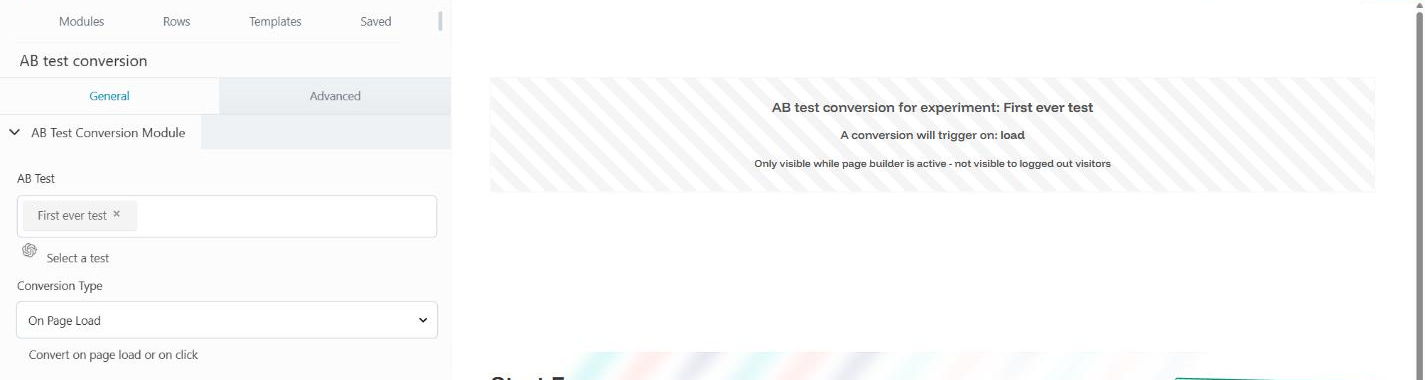

The important things to do here are:
- pick the correct test - in this case ‘First ever test’
- keep the conversion type as ‘On Page Load’ - this means that when this page loads the button which was clicked to get to this page (red / blue) will get a point in the test. The more clicks that button gets, the more points it will receive.
There are options in here which you can use to target a specific element:
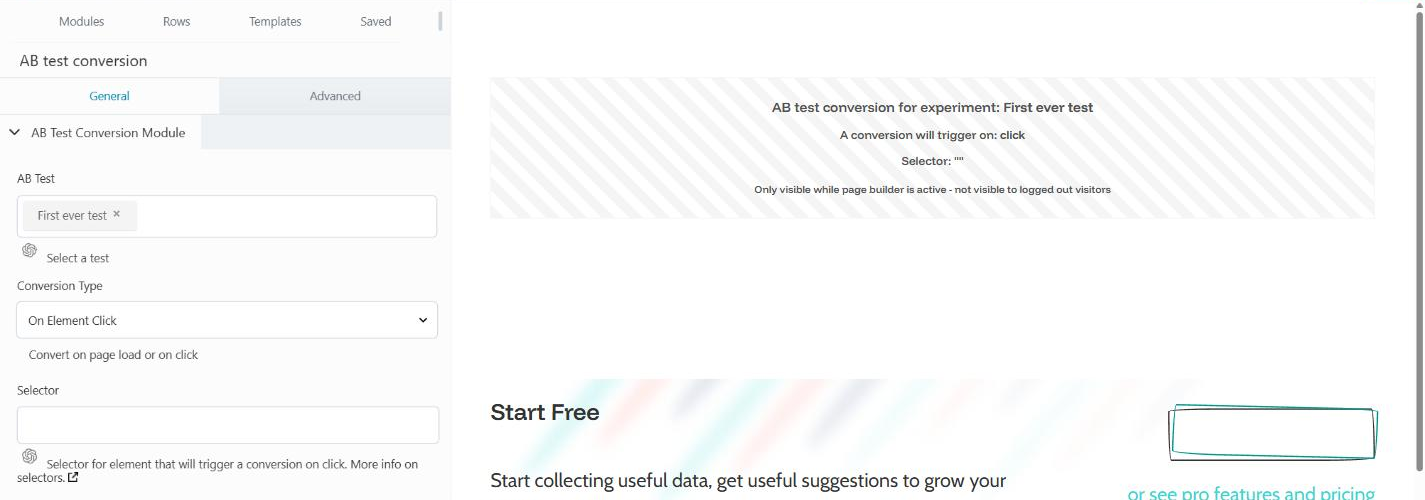
For this you will need to know the class or ID of a specific element, and if that is clicked that item will register the conversion, not the page load.
Now you’ve set up the conversion page, you’re basically done! Nice. Don’t forget to publish your changes!
Now your test is running and gathering data, which you can see back in the test screen that we created right at the start of this page:
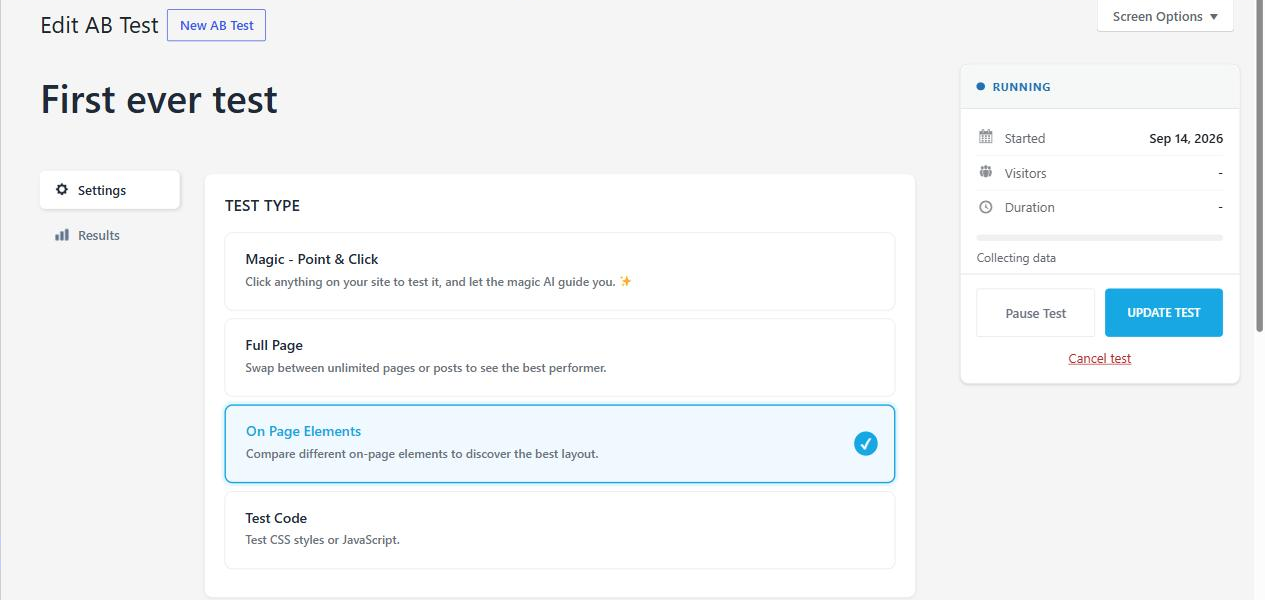
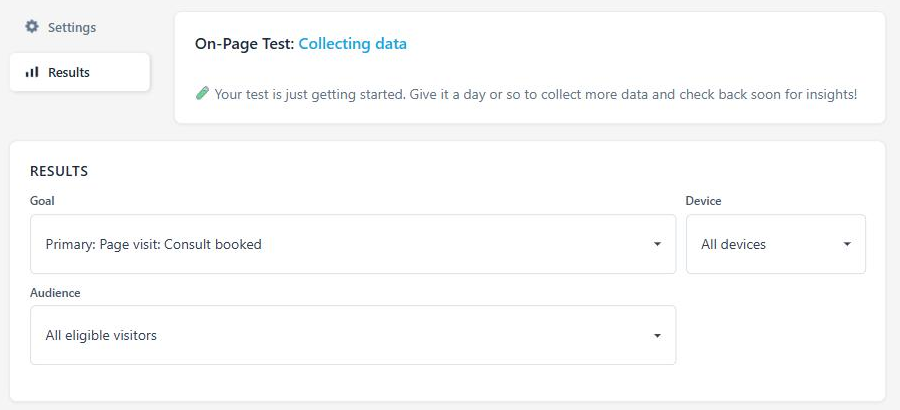
You’ll need to wait a while for the test to register some data, and longer for the test to draw an automatic winner:
Get AB Split Test free - includes a 7-day trial of every Teams feature. No credit card.